Need to Download CCTV footage from Dahua DVR to pen drive? While the process is straightforward, Dahua’s varying firmware interfaces can easily cause confusion—especially since playback features are often hidden under Search or Video Search.
This guide cuts through the clutter and walks you through the two easiest ways to secure your recordings:
- Method 1: The Clip Tool – Quickly snip and export a specific incident during a video search.
- Method 2: The Backup Menu – Export bulk video files by selecting a specific date, time range, and camera channel.
Read on to learn how to quickly locate, export, and save your CCTV footage in minutes!
Why You May Need to Export CCTV Footage
Whether you need to secure evidence for police and legal investigations, document theft and security incidents, process insurance claims, conduct internal audits, verify visitors, or simply maintain long-term backups, exporting your footage is a vital skill.
Before you begin pulling these important recordings, ensure you have the following on hand to make the process seamless:
- Your System Setup: A Dahua DVR/XVR/NVR containing the footage, connected to a monitor.
- Navigation: A standard USB mouse connected to the recorder.
- Access: Your administrator login credentials.
- Storage: A USB pen drive with sufficient free space. For the best compatibility with Dahua systems, ensure your drive is formatted as FAT32 or exFAT.
Method 1: Export a Specific Video Clip from Dahua DVR – Backup Using Playback (Recommended)
This method is best when you need footage from a specific incident or time period.
Step 1: Insert the USB Pen Drive
Connect the USB drive to one of the DVR’s USB ports. Wait a few seconds for the system to detect the device. If the USB drive is not detected, try another USB port or reconnect the drive.
 1")
Step 2: Open the Main Menu
- Right-click on the live camera view.
- Select Main Menu.
- Enter the administrator password if prompted.
Step 3: Locate the Required Footage
After opening the Video Search screen, select the incident date from the calendar and choose the required camera channel.
Once the date and camera are selected, the available recordings will automatically appear on the timeline at the bottom of the screen. There is no need to click a separate Search button on most Dahua DVR models.
You can now:
- Play the recording normally.
- Use the timeline cursor to move forward or backward.
- Quickly jump to the approximate incident time if it is already known.
Review the footage until you find the exact incident that needs to be exported.
Step 4: Create a Video Clip
After locating the required footage, create a video clip for backup by following these steps:
 2")
- Click the Scissors (Clip) Icon: Click the Scissors icon available on the playback toolbar.
- Select the Start Time: Move the playback cursor to the beginning of the incident and click the Scissors icon to mark the Start Time.
- Select the End Time: Move the playback cursor to the point where the incident ends and click the Scissors icon again to mark the End Time. Tip: Include a few minutes before and after the incident to ensure all relevant footage is captured.
- Click the Save Icon: After selecting both the start and end times, click the Save icon.
Step 5: Export the Footage to a USB Pen Drive
- Select the destination path (USB pen drive).
- Choose the required video format:
- MP4 (Recommended)
- AVI
- DAV
- Click Backup or Export.
The DVR will begin downloading the selected footage to the USB drive.
Do not remove the USB device during the export process.
Once the backup is complete, connect the USB drive to a computer and verify that the footage plays correctly before sharing or archiving it.
Method 2: Export CCTV Footage Using the Backup Menu from Dahua DVR
Many Dahua DVRs and XVRs include a dedicated Backup menu that allows users to export recordings directly without first creating a clip in the playback screen.
This method is ideal when:
- Exporting several hours of footage
- Exporting recordings from a specific time range
- Downloading footage from multiple cameras
- Creating official backup copies for investigations or audits
Step 1: Open the Backup Menu
- Right-click on the live view screen.
- Open Main Menu.
- Click Backup.
 3")
The Backup screen will open, displaying recording search options and USB storage information.
Step 2: Verify USB Detection
Before searching for recordings, ensure that your USB pen drive is detected. Check the Device Name field at the top of the screen.
For example: sde1 (USB DISK)
 4")
If the USB device is not displayed:
- Reconnect the USB drive.
- Try another USB port.
- Format the USB drive to FAT32 or exFAT.
- Refresh the Backup screen.
Step 3: Search and Select the Required Recording
 5")
After opening the Backup menu, follow these steps:
- Select the Camera Channel
- Choose the required camera from the Record CH dropdown menu.
- Examples:
- Channel 1 – Main Gate
- Channel 2 – Reception
- Channel 7 – Parking Area
- Select the File Format
- Choose the desired export format from the File Format dropdown.
- Available options may include:
- MP4 (Recommended)
- AVI
- DAV
- For most users, MP4 is the best option because it can be played directly on computers and mobile devices.
- Enter the Start and End Time
- Select the exact date and time range you want to export.
- Example:
- Start Time: 09-04-2026 13:10:00
- End Time: 09-04-2026 13:30:00
- Tip: Selecting only the required time range reduces file size and speeds up the backup process.
- Click the Search Button
- Click Search to find recordings that match the selected camera and time range.
- Review the Search Results
- The DVR will display all available recordings matching your search criteria.
- The results typically show:
- Camera Channel
- Recording Type
- Start Time
- End Time
- File Size
- Select the Required Recording
- Tick the checkbox beside the recording file you want to export.
- Verify that the recording date, time, and camera channel are correct before proceeding.
- Start the Backup Process
- Click the Backup button.
- Wait for the export process to complete.
- Do not remove the USB drive while the backup is in progress.
 6")
Verify the Exported Footage:
Safely remove the USB drive after the backup is complete. Open the exported file on a computer and verify that the footage plays correctly.
Read Also:
- How to Download CCTV Footage by WEB Browser on Dahua DVR
- How to download CCTV footage of Dahua DVR from Smartpss
Advantages of Using the Backup Menu
- Faster for long-duration recordings
- Supports exporting multiple files
- Better for evidence preservation
- Suitable for multi-camera exports
- Preferred by CCTV technicians and security professionals
When Should You Use This Method?
Use the Backup Menu whenever you need to export more than a few minutes of footage or when you already know the exact date and time of the incident. For most commercial installations, this is the quickest and most professional way to download CCTV footage from a Dahua DVR.
Common Problems and Solutions
USB Drive Not Detected
Possible causes and Solutions:
- Unsupported file system: Format the USB drive as FAT32 or exFAT
- Faulty USB port or drive: Try another USB port or change the Pen Drive
- Loose connection: Re-Connect or Restart the DVR
No Recording Found
Possible causes:
- Wrong date selected: If there is an issue with the date and time, you can use our free Time Difference Calculator to identify the correct time range and export the required incident clip.
- Incorrect camera channel
- Recording was not available
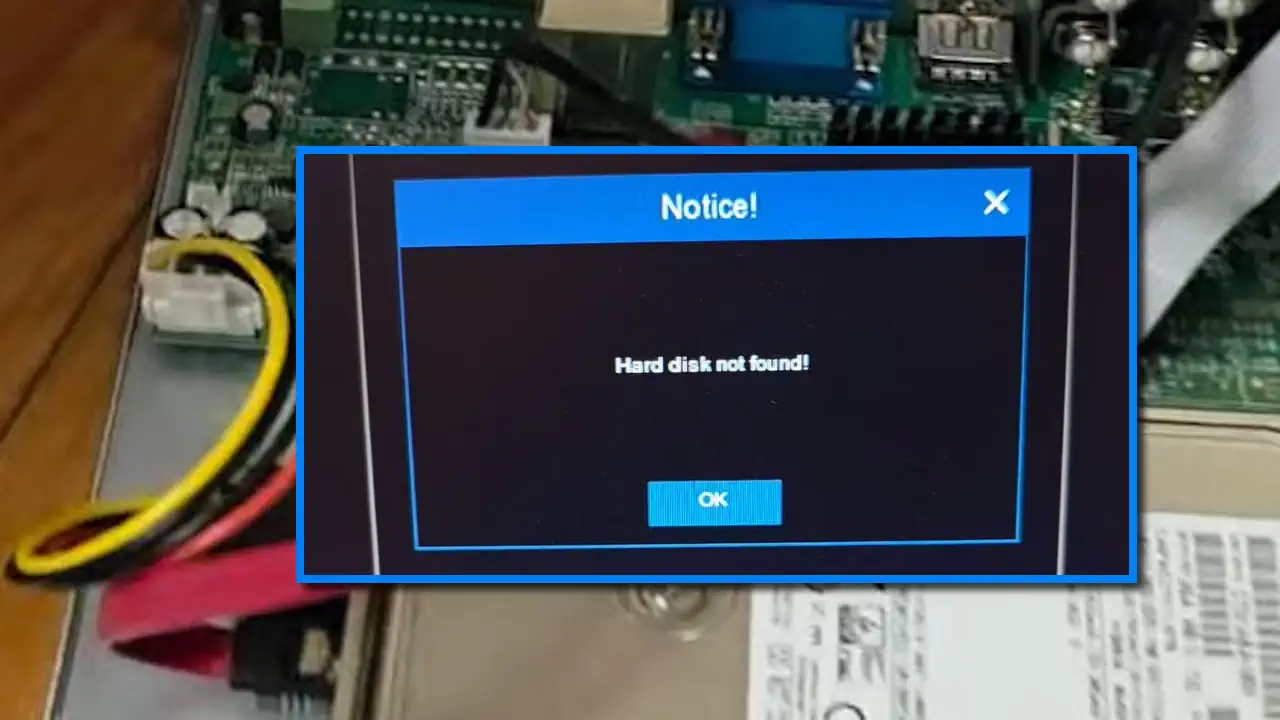
- HDD Issue: If your DVR shows an HDD error or cannot detect the hard drive, recordings may not be available. Follow our HDD Not Found Troubleshooting Guide to diagnose and fix common hard drive issues.
Verify the camera and time range before searching again.
Export Failed
Possible causes:
- Insufficient USB storage
- Damaged USB drive
- Power interruption
Try another USB drive and repeat the process.
Video Not Playing
If the file was exported in DAV format, use Dahua Smart Player to view it.
For easier playback, export footage in MP4 format whenever possible.
Final Thoughts
Download CCTV footage from Dahua DVR to pen drive is straightforward once you know where recordings are stored. On most Dahua DVRs, recorded video is accessed through Search or Video Search, not through a menu called Playback.
After locating the required recording, simply create a clip, export it to a USB drive, and verify the file before sharing it. For multiple camera recordings or bulk footage exports, use the Backup option.


")